Cutting Negative Checks
The following will explain how negative amount is handled in Pay Bills forms.
Pay Bills
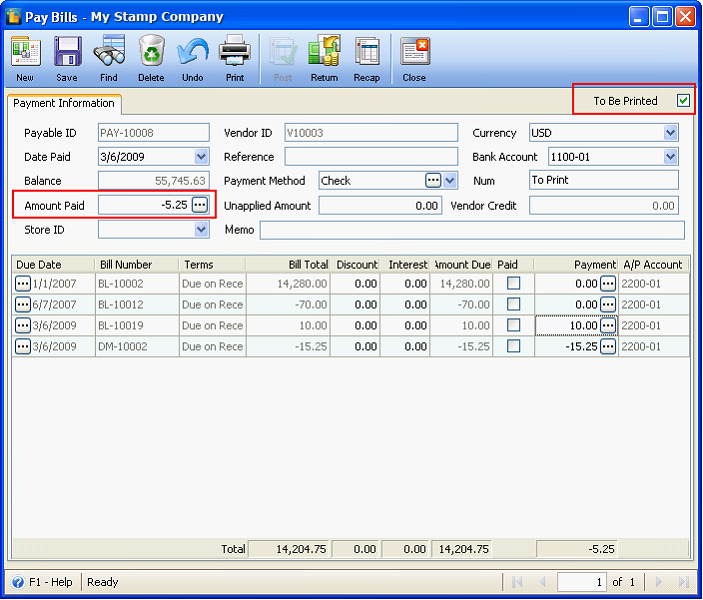
In this example, To Be Printed checkbox is enabled.
If Amount Paid field has negative amount,
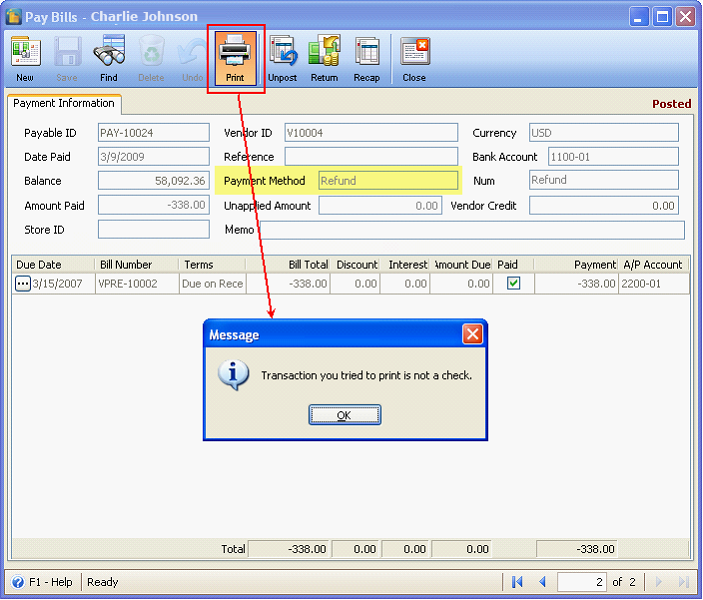
clicking Print button will show this message. (In the case where To Be Printed checkbox is disabled, this message will be shown when Post button is clicked.)

Click Ok will bring will bring the cursor to the Payment Method field so you can change it to ‘Refund’. As soon as you have changed the Payment Method, you can now post the pay bill.
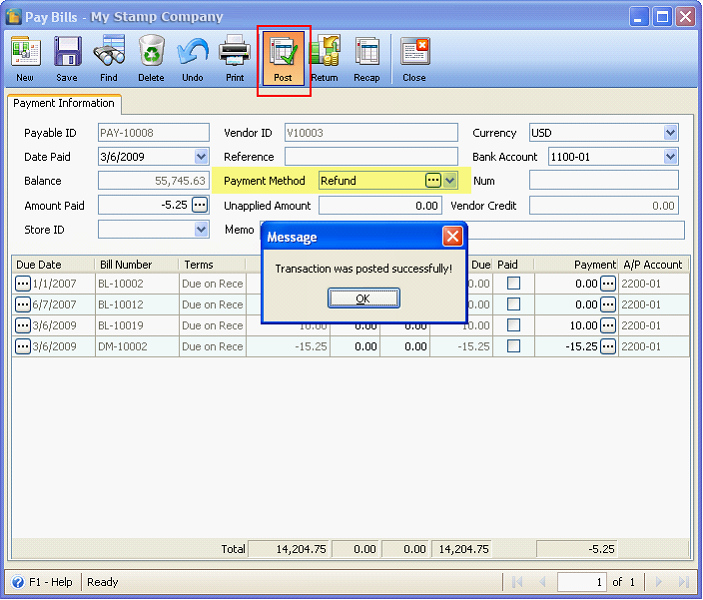
Once you try to print
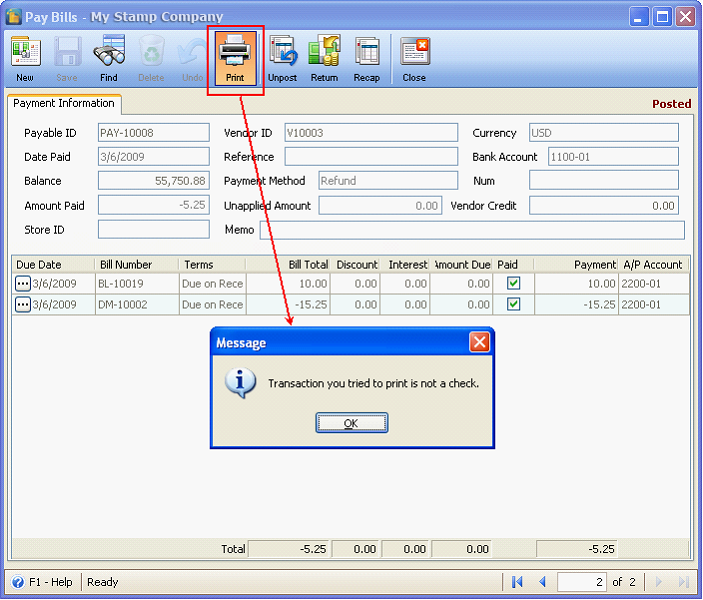
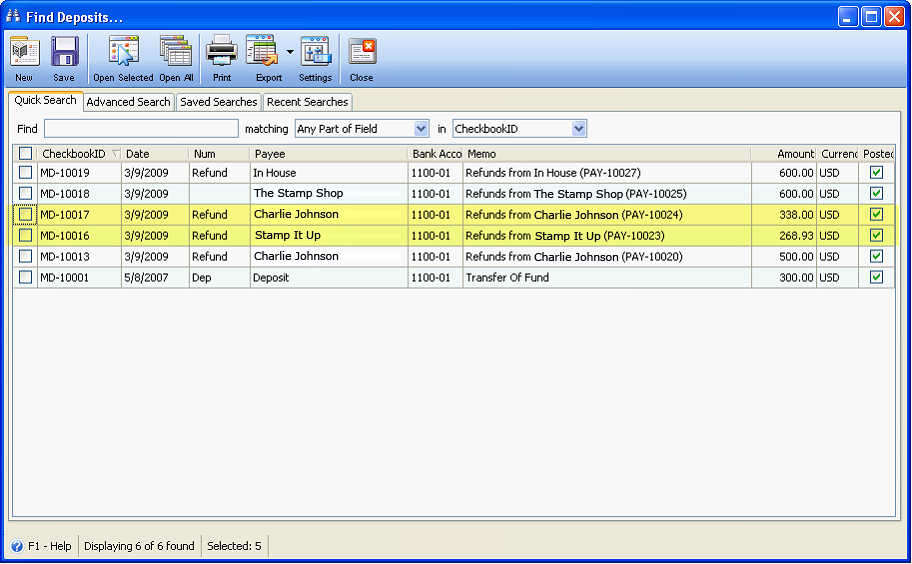
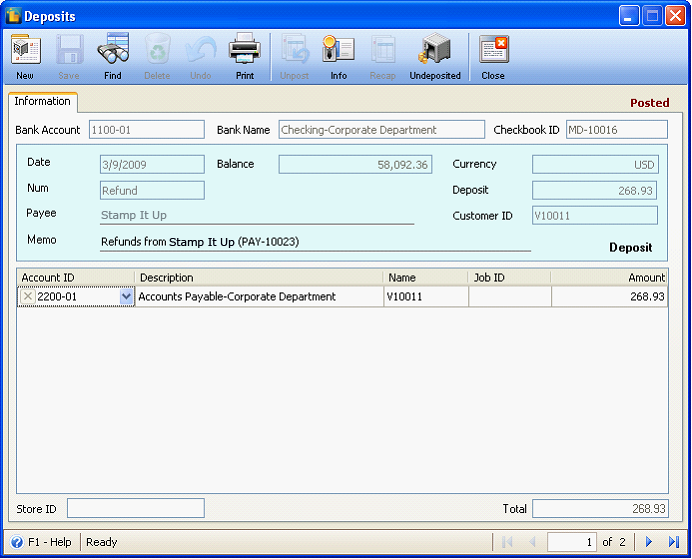
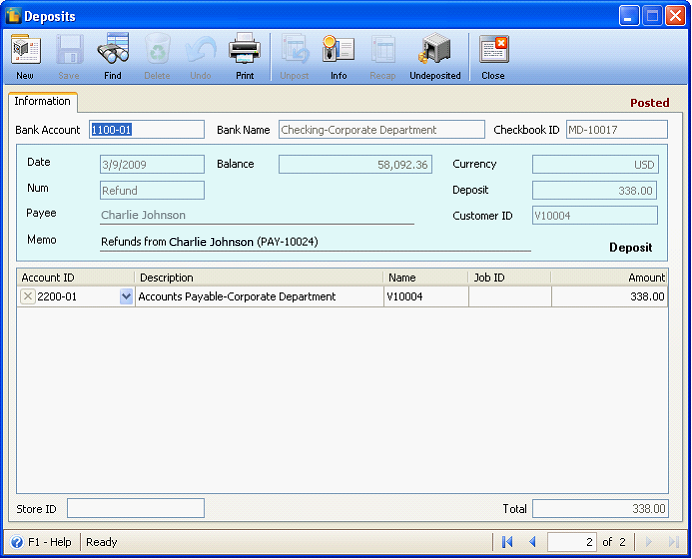
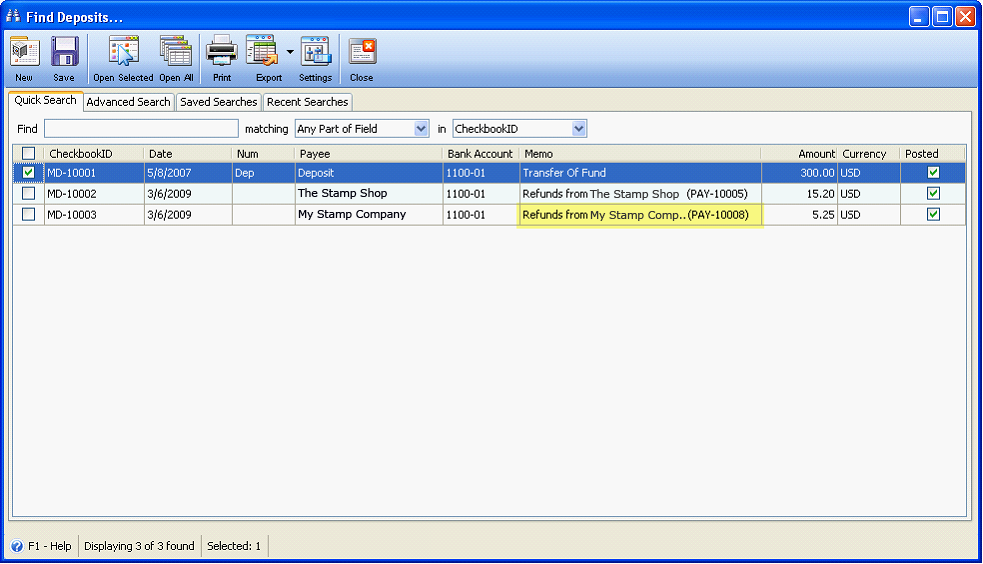
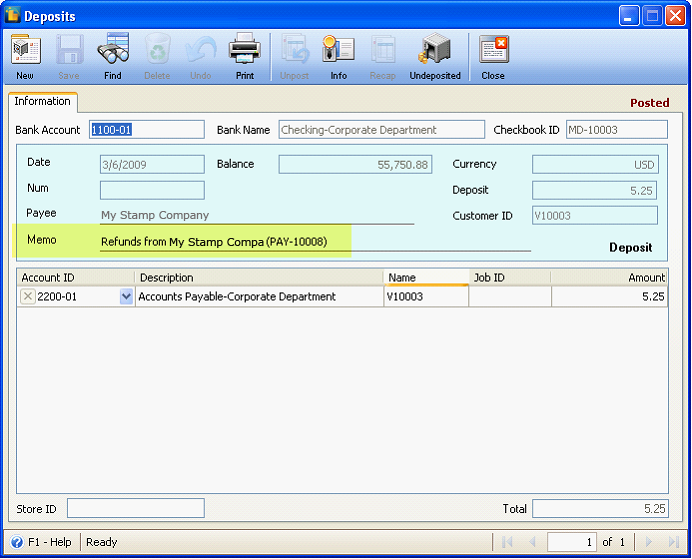
Note the Payable ID (which is PAY-10008) for the above transaction. As soon as this pay bill is posted, go to Accounting menu > Deposit and look for the deposit created for that refund transaction. You may check want to look at the ‘Memo column’ of the Find Deposits form, in there, the Payable ID will be shown.
Pay Bills (Multi-Vendor)
In this example, To Be Printed checkbox is enabled.
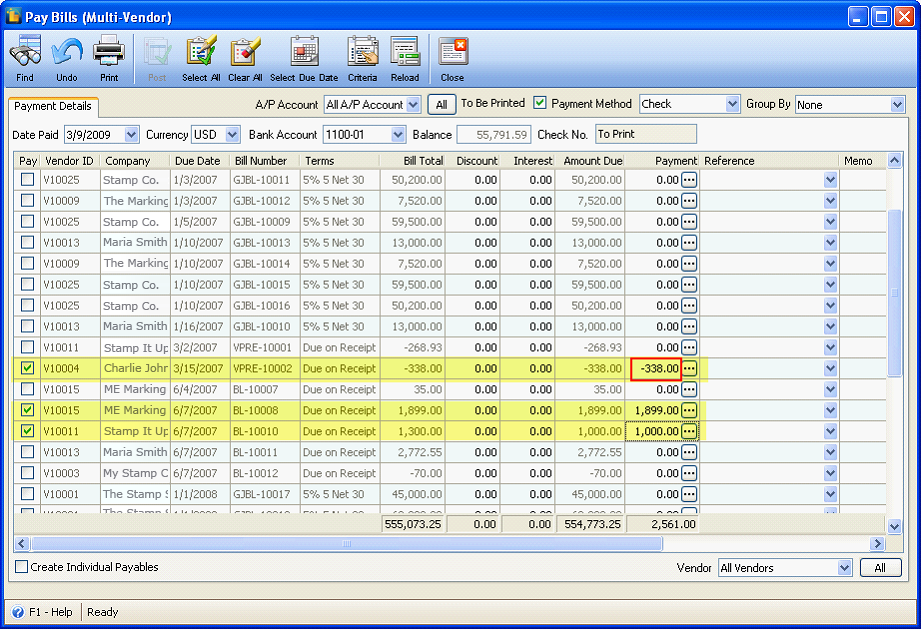
If Payment column has negative and positive amounts selected,
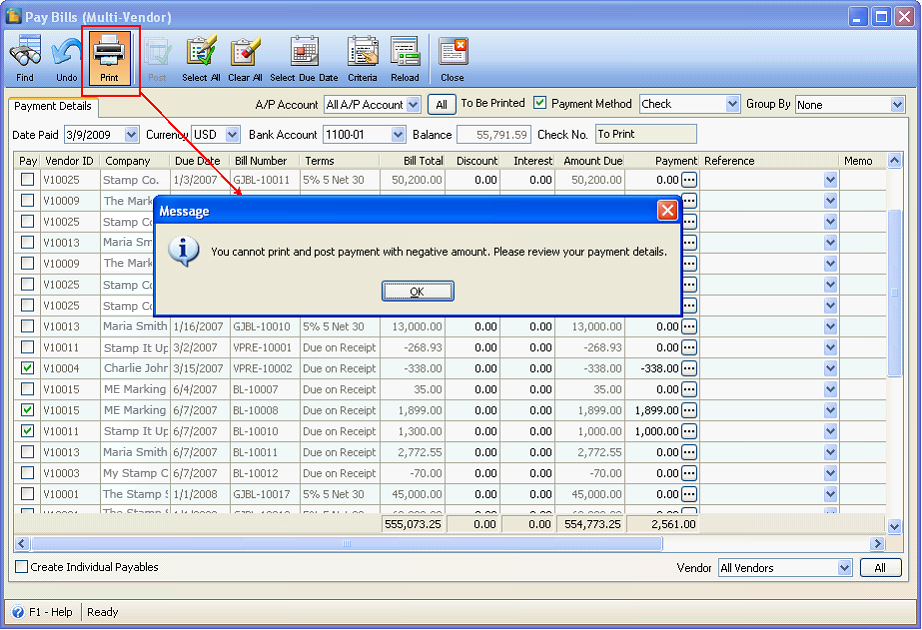
clicking Print button will show this message to prevent you from printing a negative check.
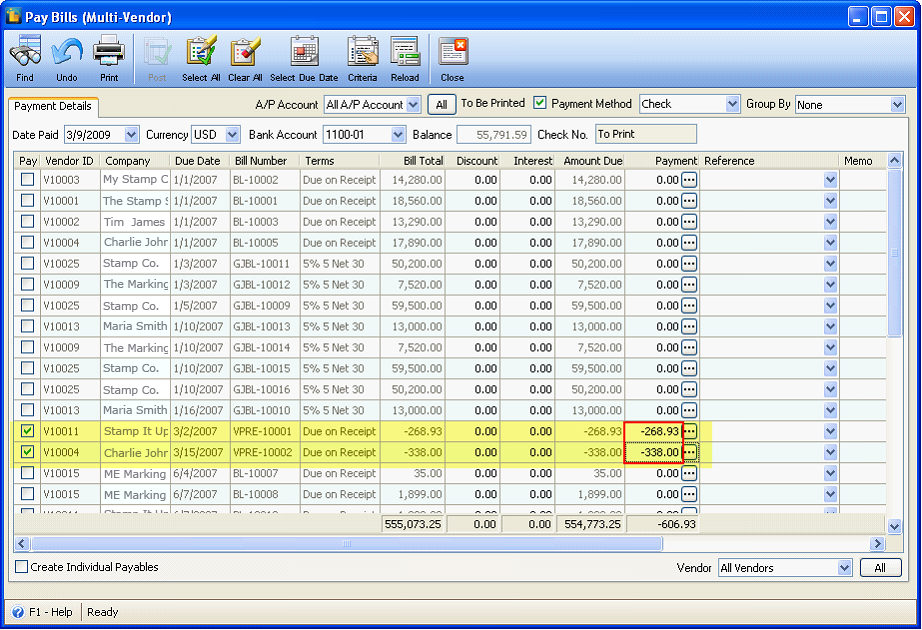
But you can always use the Pay Bill (Multi-Vendor) form to make a negative check transaction by simply selecting only those that have negative amounts. Like in the example below, selected are only those with negative amounts.
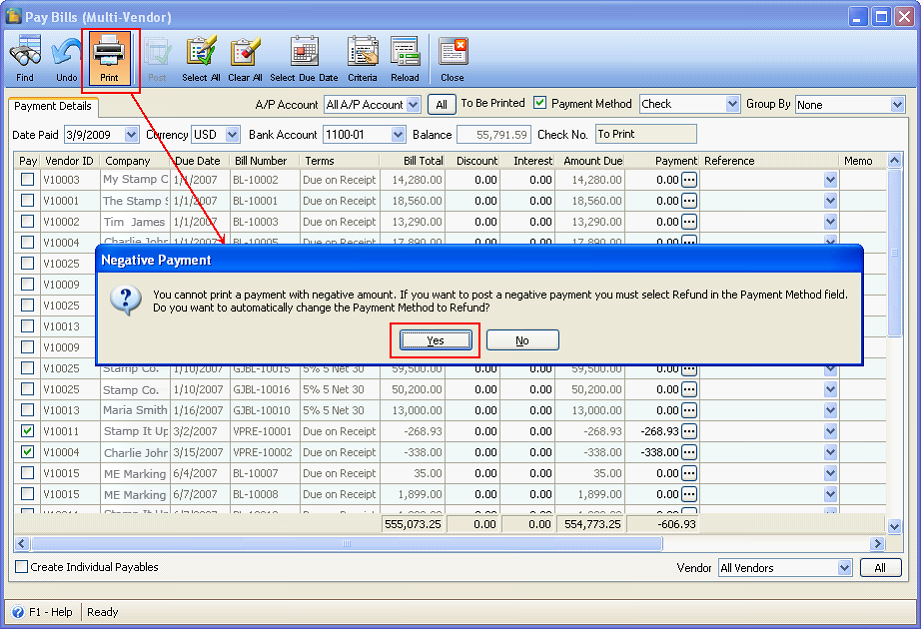
When Post button is clicked, this message will be shown. Click Yes to automatically change the Payment Method to ‘Refund’ and create a deposit transaction for that refund.
Then this message box will be shown letting you know that those selected negative amounts were posted successfully.
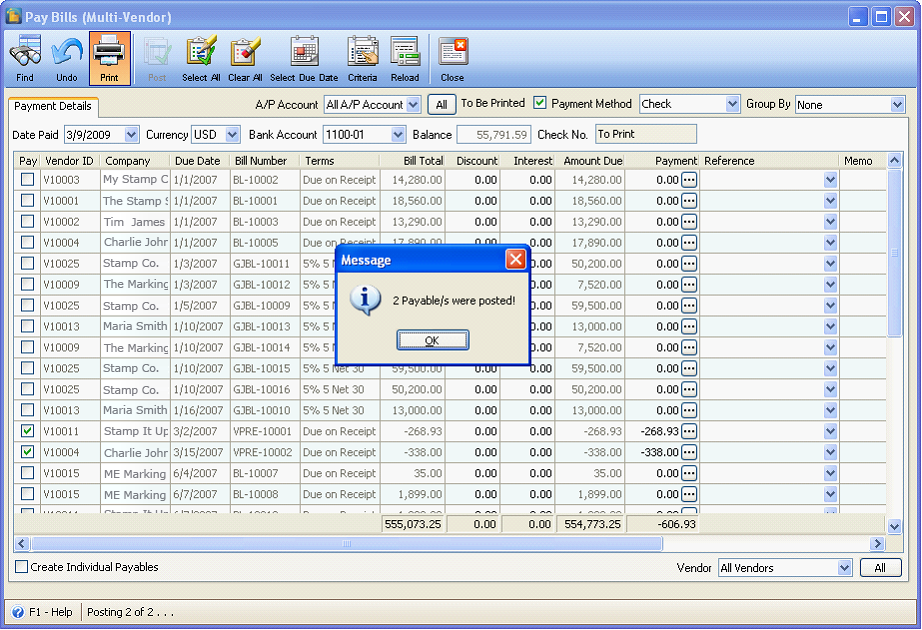
Now open those payables in Find Payables form.
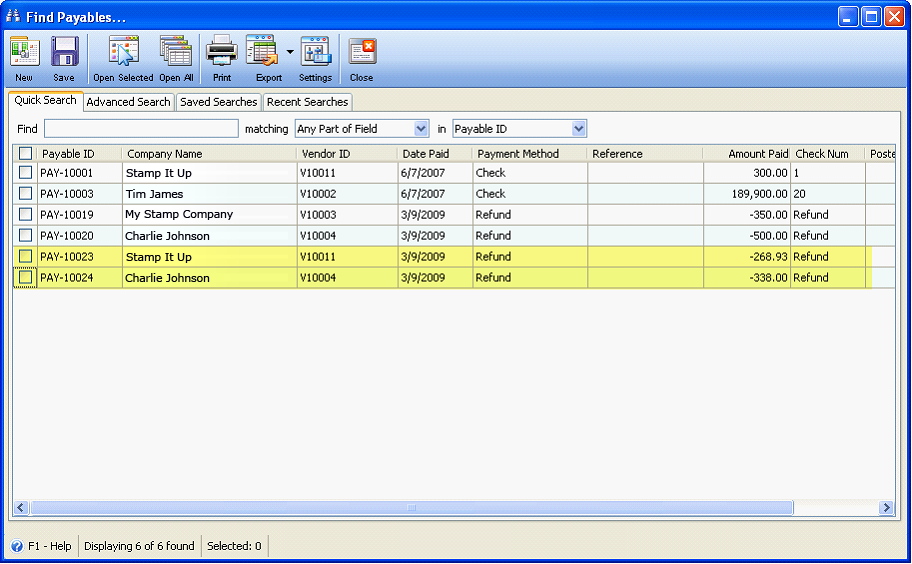
Printing these transactions refund type of transactions will not be allowed.

And here is the deposit transactions created.
