How to Customize Report (Write Checks)
Below is a guideline for customizing report directly from on the transactional form. This also applies on Order, Order Detail, Invoice and etc.
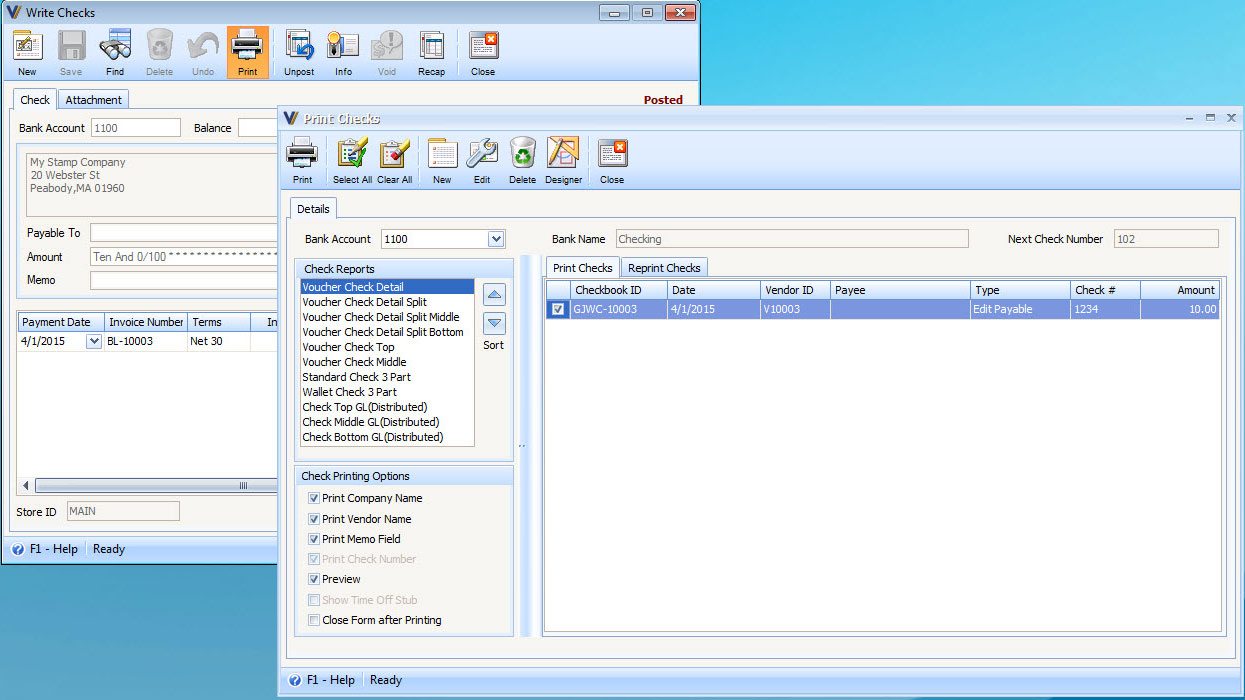
1. Select Report to customize. In this example, Voucher Check Detail will be customized. Then Click the Print Button.
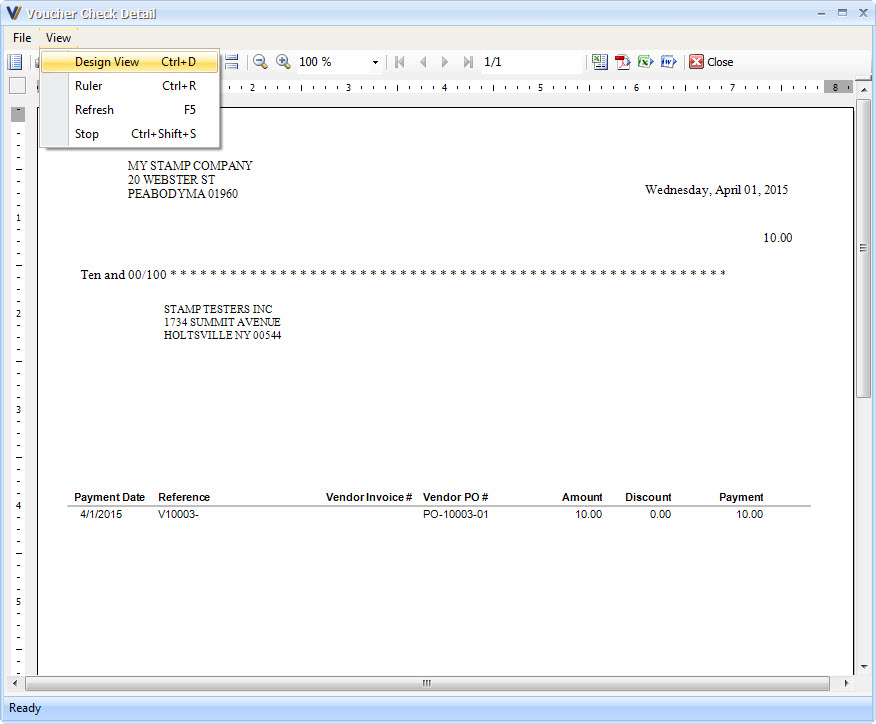
2. When Report Preview is opened e.g. Voucher Check Detail Preview, click the Design View under View Menu or use Ctrl + D to open Report Designer.
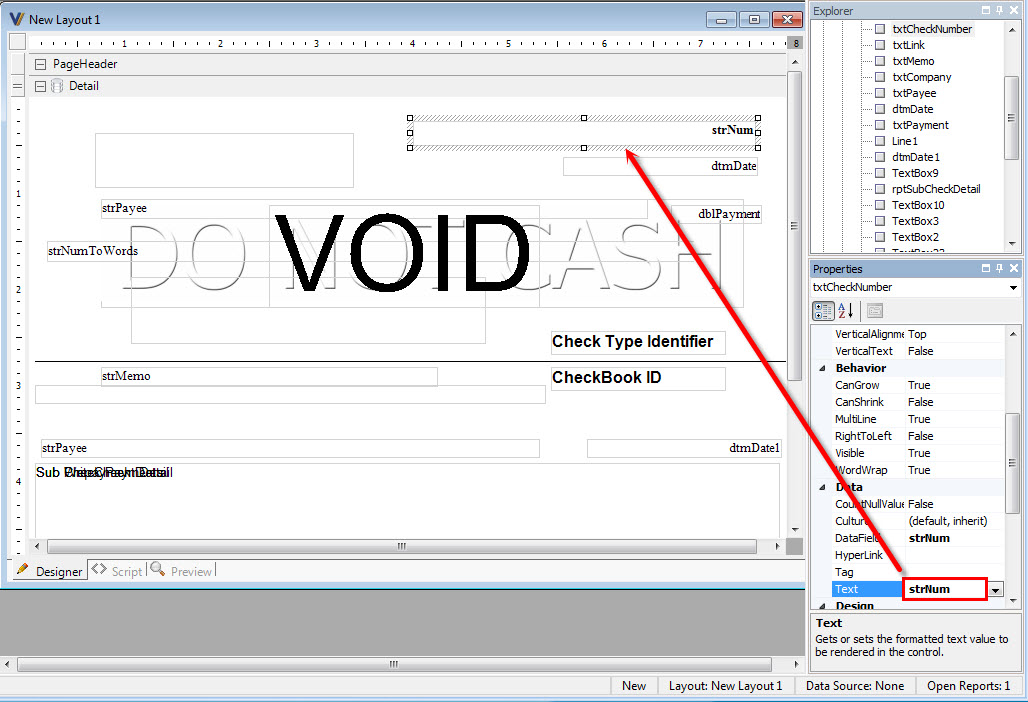
3. On Report Designer form, you will notice that a New layout form will be displayed.
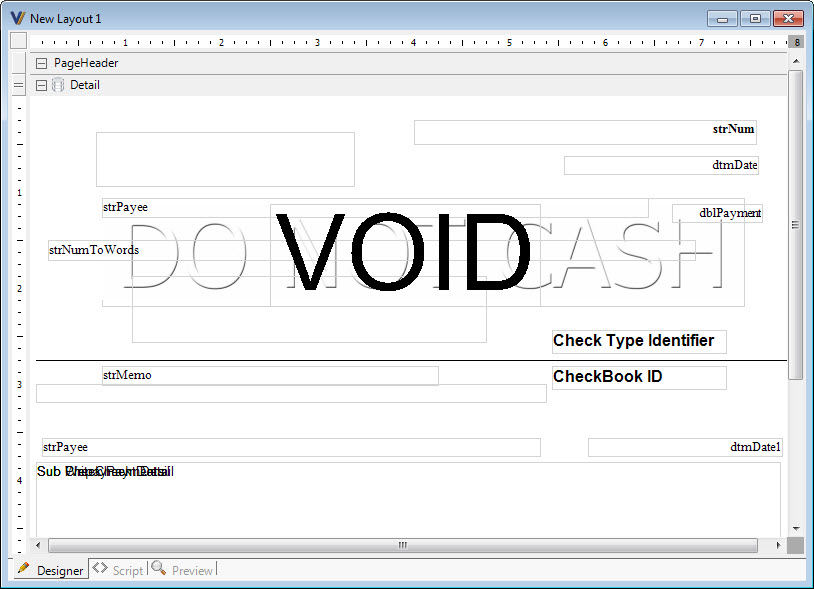
4. You may now start designing your desired layout for this Report. You can check the script behind and modify the C# Code built in this Custom Vantage Office Report.
5. When you’re done, save the layout by clicking Save icon on Report Toolbar or by clicking Save under File Menu.
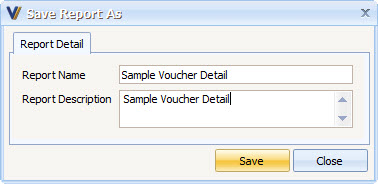
6. After saving on Save Layout As form, enter your own Report Name and Save.

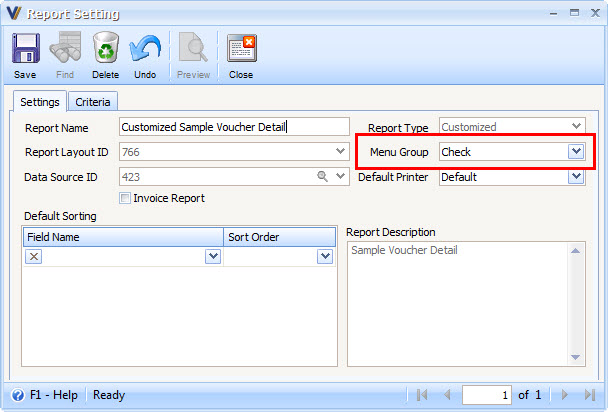
7. Select the Data Source ID (179) and the Menu Group. In this example, Custom Vantage Office Checks is selected. You can also add your own Report Description and Default Sorting for this customized report. After doing so, Save your report again.
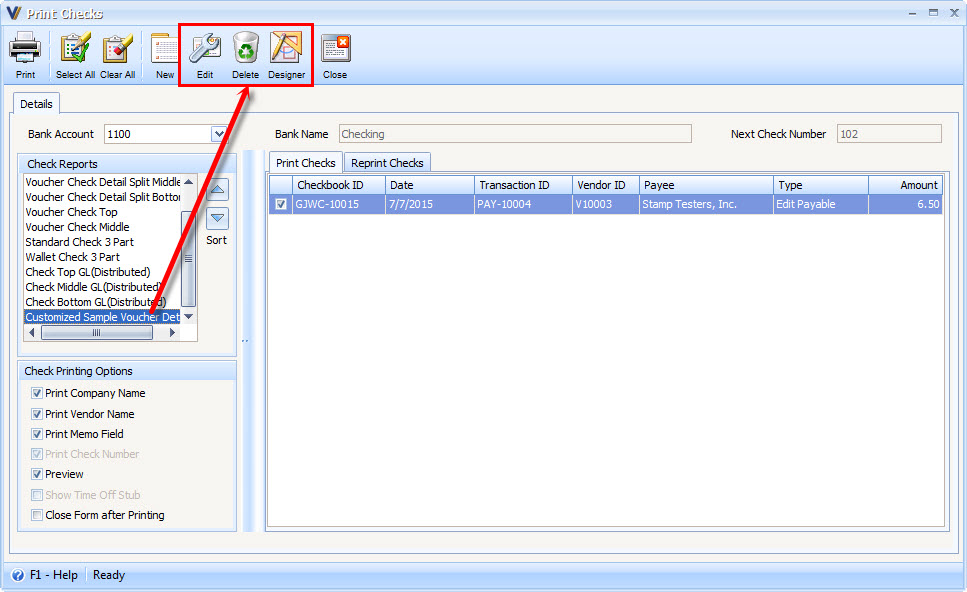
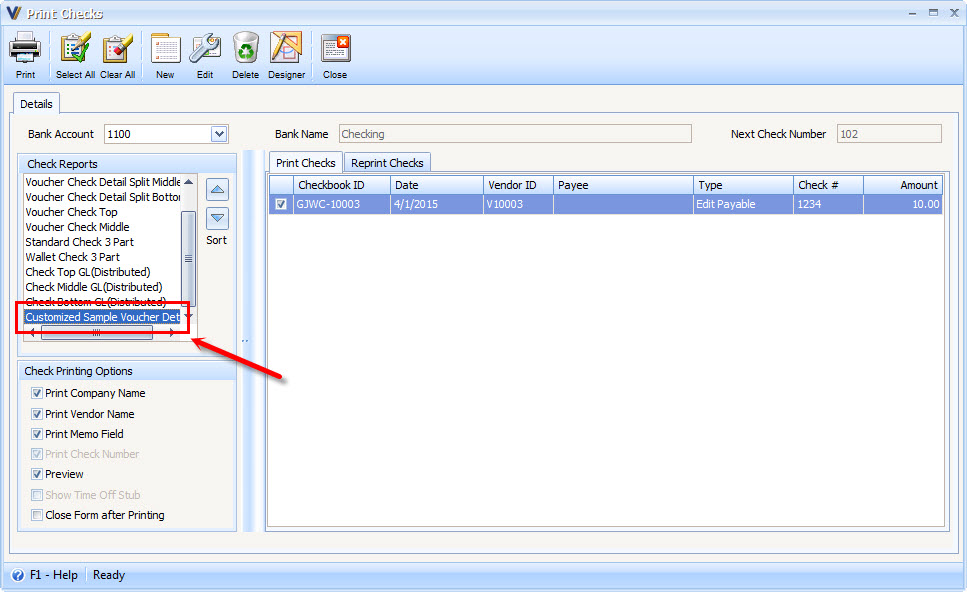
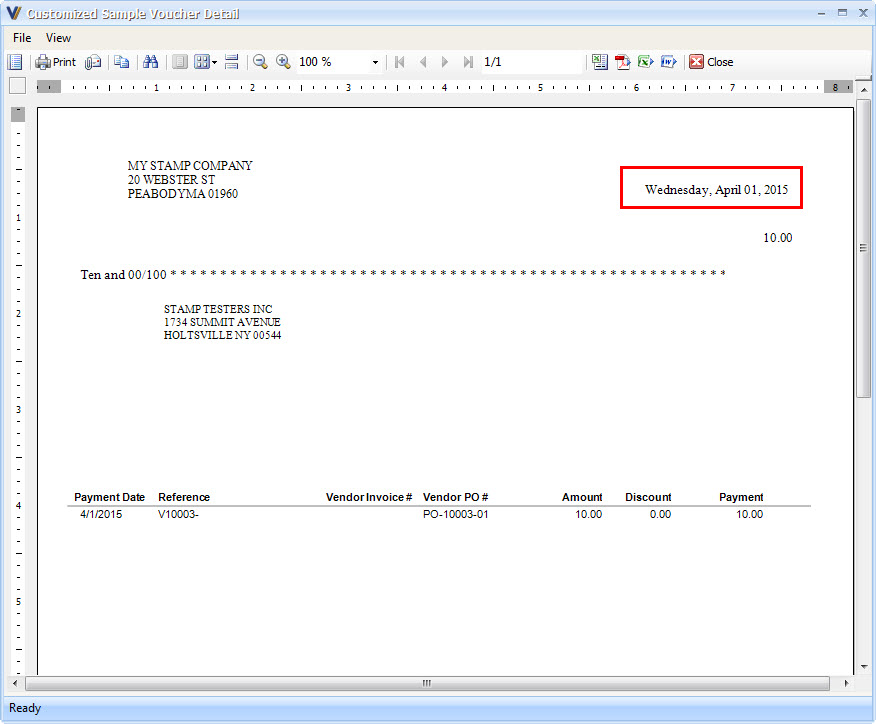
8. After closing the Report Designer and click the print button on Write Checks form, your Customized Report (Customize Voucher Detail Sample) is now available at Print Check area.
9. You can also view your customized Report on Report Manager form.