ShipRush for Custom Vantage Office
Installing and Setting Up ShipRush for Custom Vantage Office:
Follow the steps below to install ShipRush and the Custom Vantage Office Bridge to connect to ShipRush.
| 1. | First you will need to download, install and upgrade your ShipRush. You can download the latest ShipRush release directly from Z-Firm using the following link: https://shiprush.com/downloads/ |
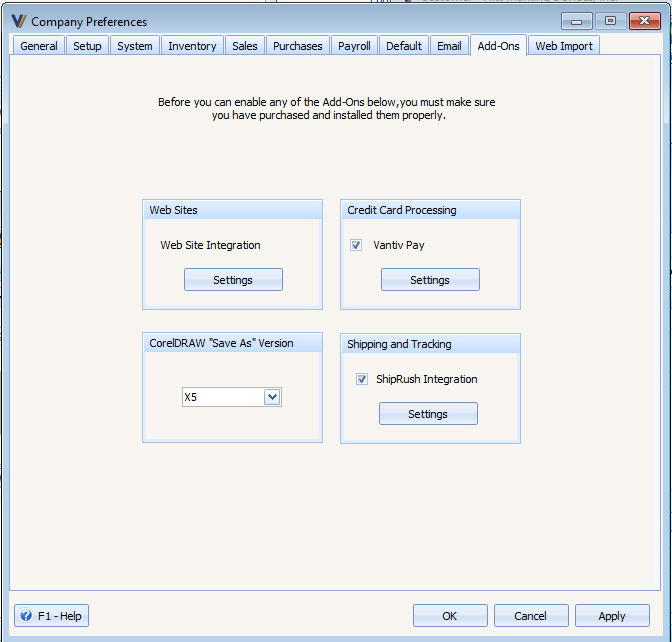
| 2. | When you get Custom Vantage Office running you will need to open the Company Preferences form from the System menu and check the Enable ShipRush checkbox then click the Apply button. |
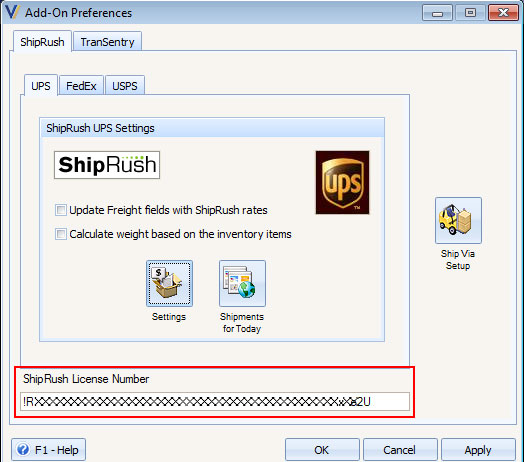
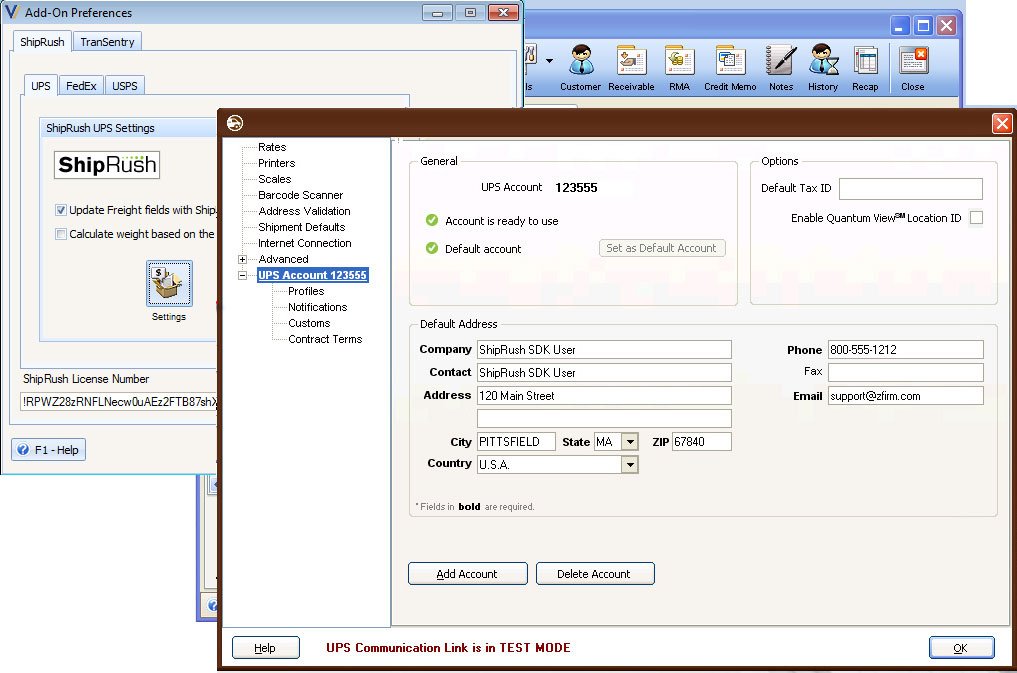
| 5. | Click on the Add-On Settings button to open up Add-On Preference form. |
Enter the ShipRush Serial Number.
Options whether the freight field in invoice will be overridden by the freight charges in every shipment made by the three different carriers can also be set by checking the Override ShipRush checkbox in each tab pages of the carrier tab. See Override ShipRush with Freight field in the following pages of this documentation.
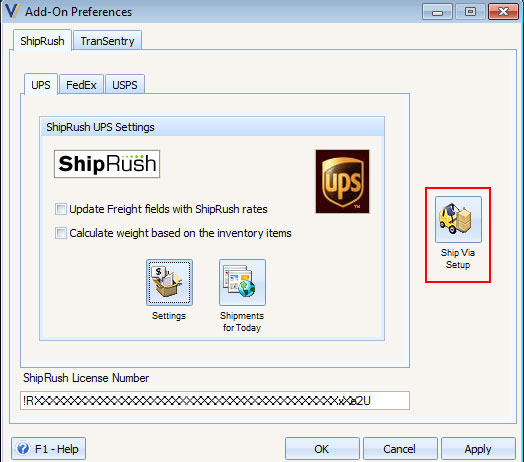
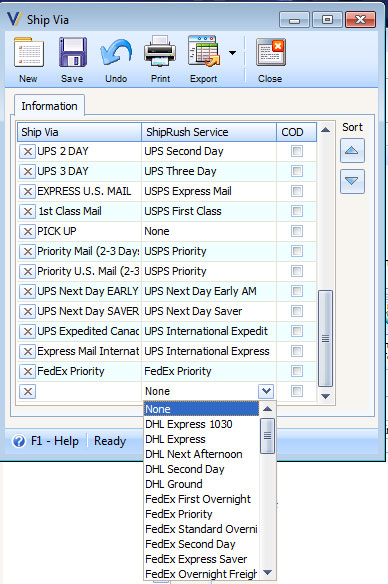
| 6. | Create ship via options for every service type of each carrier by creating records in the Ship Via form. To do this, press on the Ship Via Setup button in the Add-On Preference form. Ship Via Form will be displayed and you can now create your entries. |
Creating Shipments in Invoice Form:
If you are on an open Order, follow the same steps below. Once it is completed you will need to process the Order to Invoice and then post that invoice.
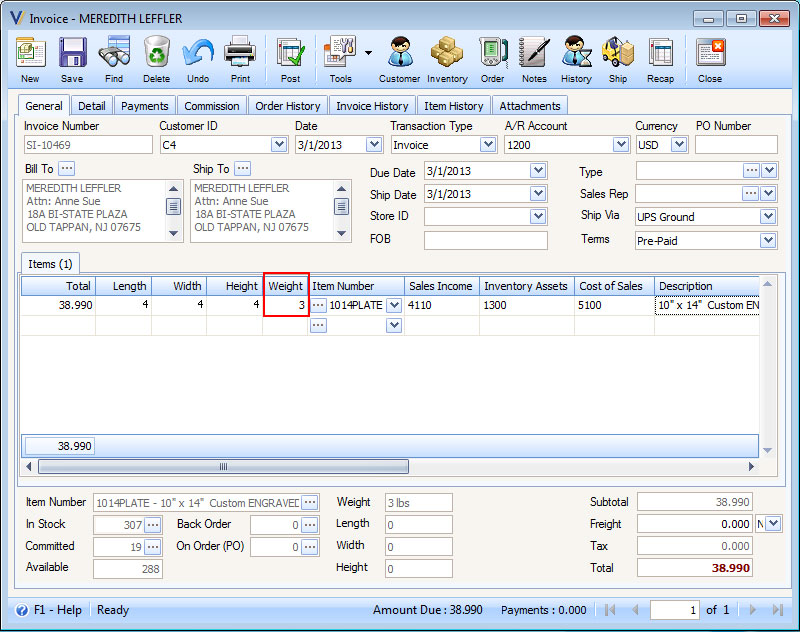
| 1. | Example, in an open invoice set the Weight of every line item. |
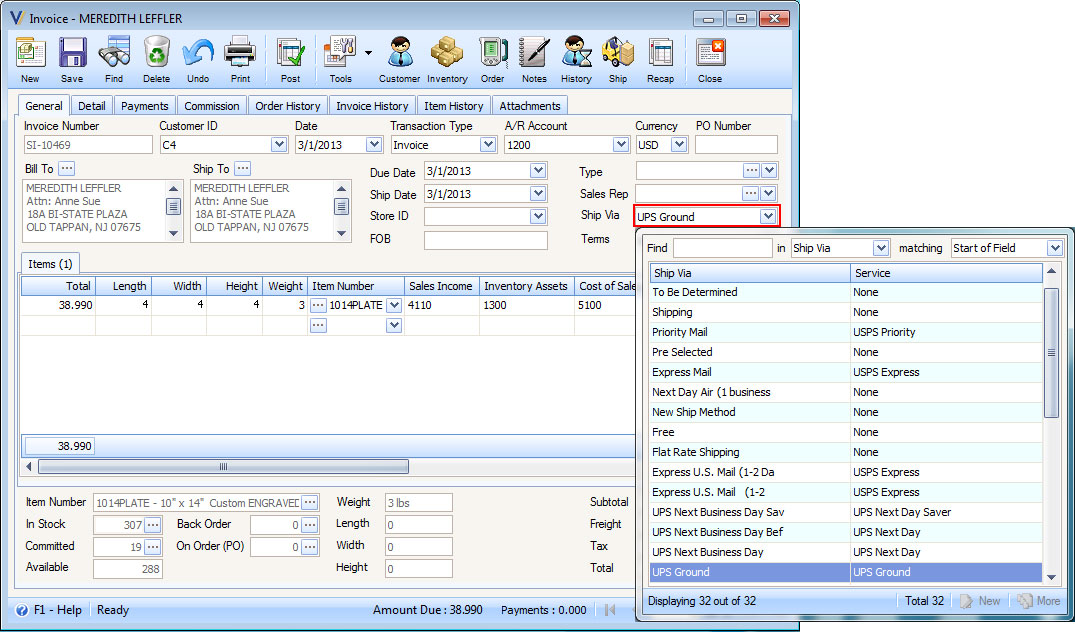
| 2. | Set the Ship Via of the invoice by selecting an entry you created in the Ship Via form. |
| 3. | After Ship Via is set and Weight is entered for each line item, you can now proceed processing your shipment by clicking the Ship button in the toolbar. |
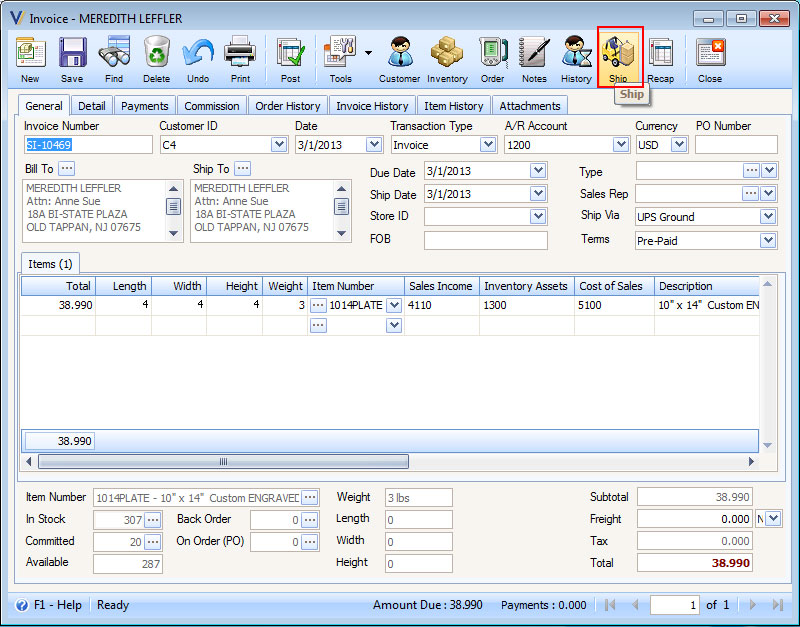
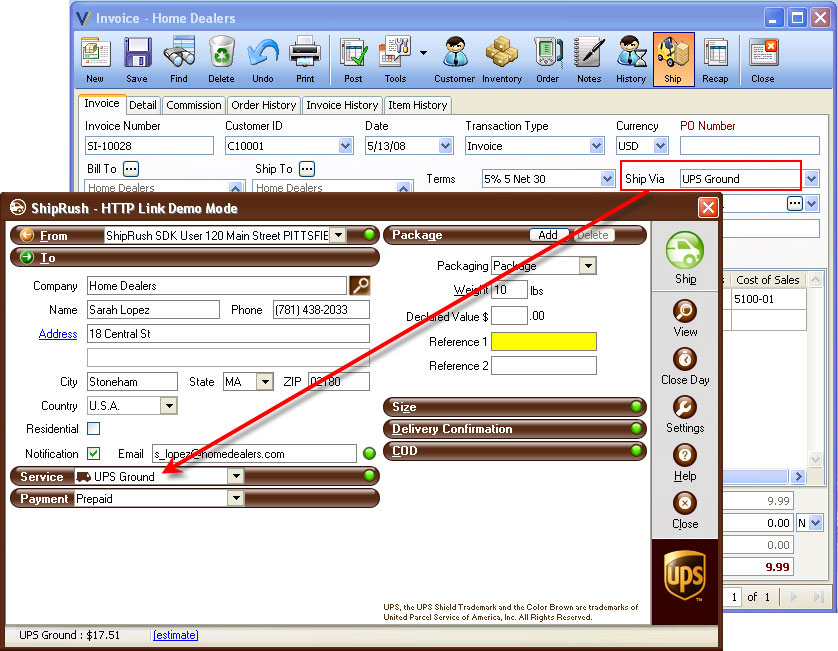
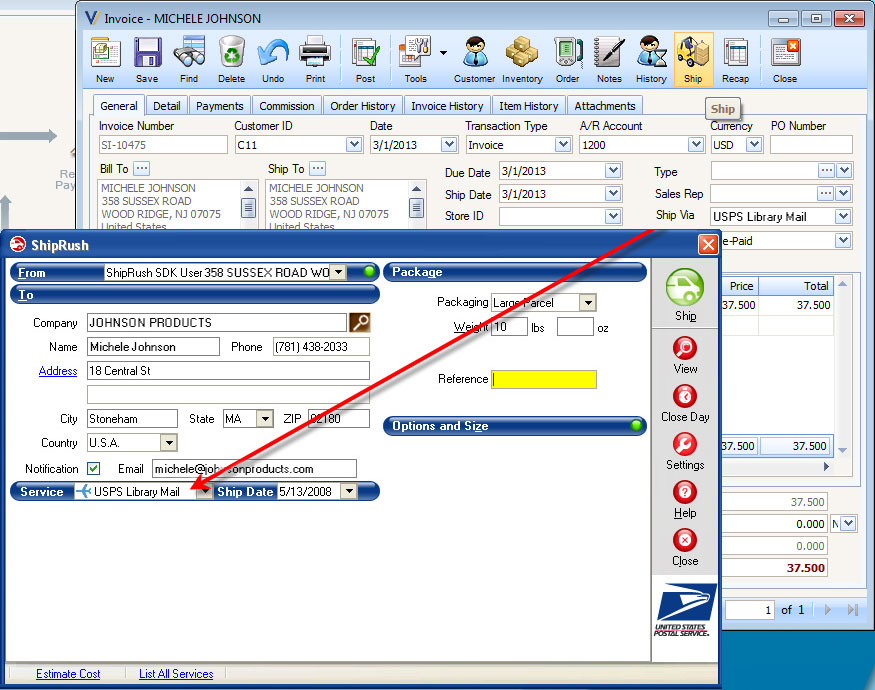
Upon clicking Ship button, ShipRush form will appear. The carrier to be used in shipping will be based on the Ship Via setup in the invoice.
See the three following images as an example.
UPS
FedEx
USPS
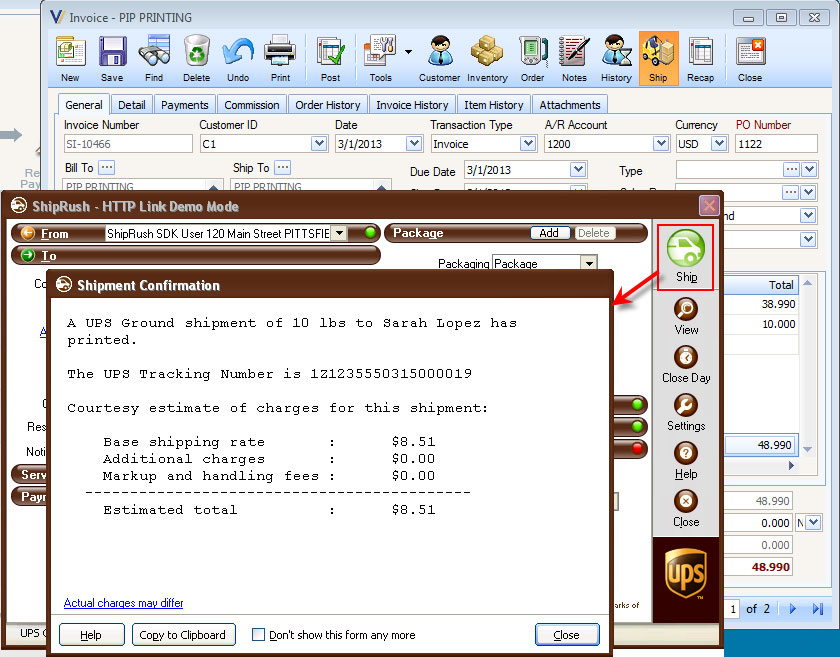
| 4. | To finalize the shipment, click the Ship button on the ShipRush form. A confirmation box will appear once the shipment has been successful. |
ShipRush Settings and History:
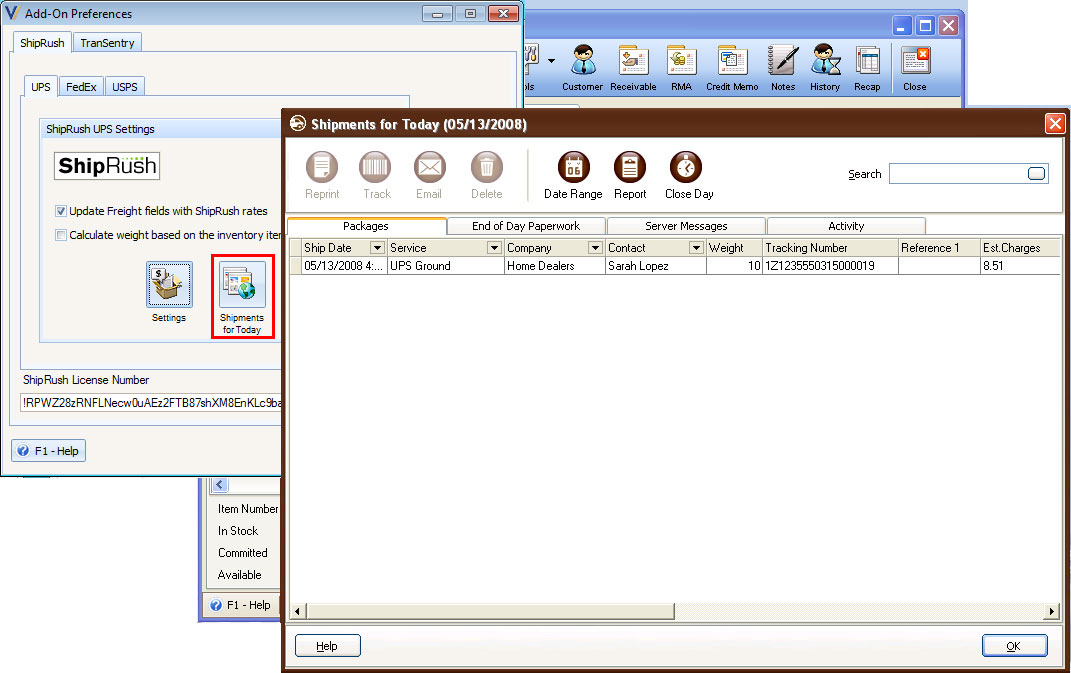
| 1. | To view and edit ShipRush Settings, open the Add-On Preference and click the Settings button. Please note that each carrier has a different setting that can be accessed by going through the same process for each tab page in the carrier tab. |
| 2. | To view and edit ShipRush Shipment History, open the Add-On Preference and click the History / End of Day button. Please note that each carrier has a separate Shipment History that can be accessed by going through the same process for each tab page in the carrier tab. |