Update and Export Budget feature in the Budget Definition form
This documentation will guide you on how to update and export budget entries directly in the Budget Definition form. This form can be accessed from Accounting menu > Budget Definition.
I. Update Budget
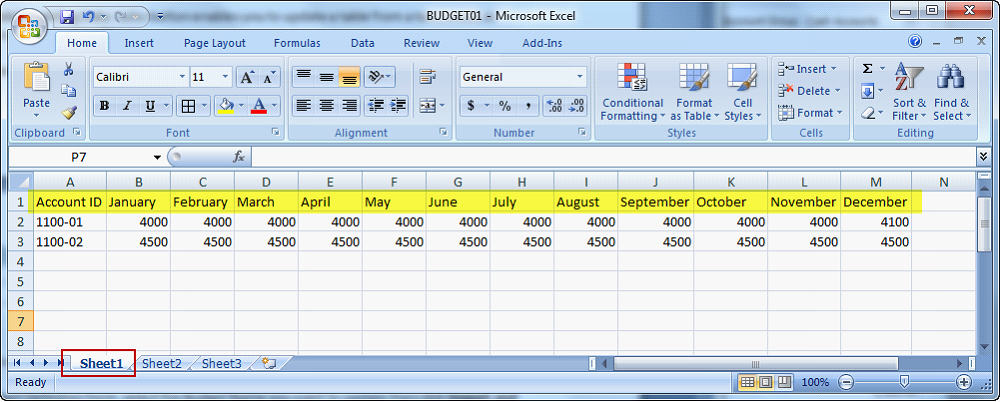
This is an example of an excel file to be used when updating the budget.
![]() Notes:
Notes:
| • | The system will always read the first sheet regardless of the sheet name. |
| • | The excel file should have the following columns. |
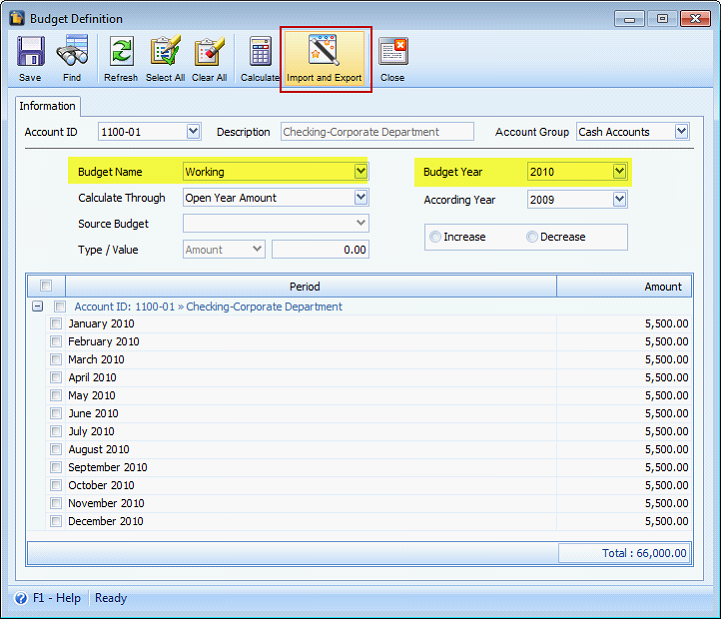
From Budget Definition form, select the Budget Name and Budget Year you want to update then click Import and Export button.
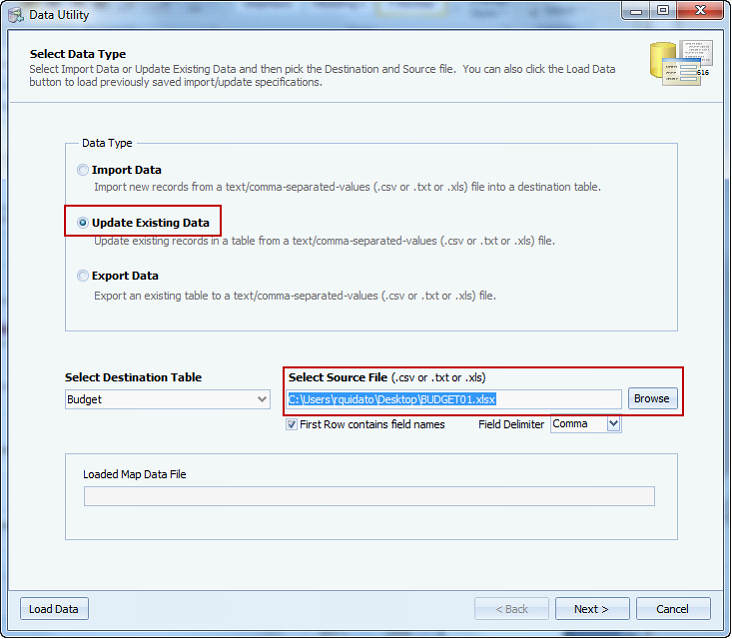
When the Data Utility form opens, select the Update Existing Data radio button. Click Browse button on Select Source File field and select the file to be used in updating the budget.
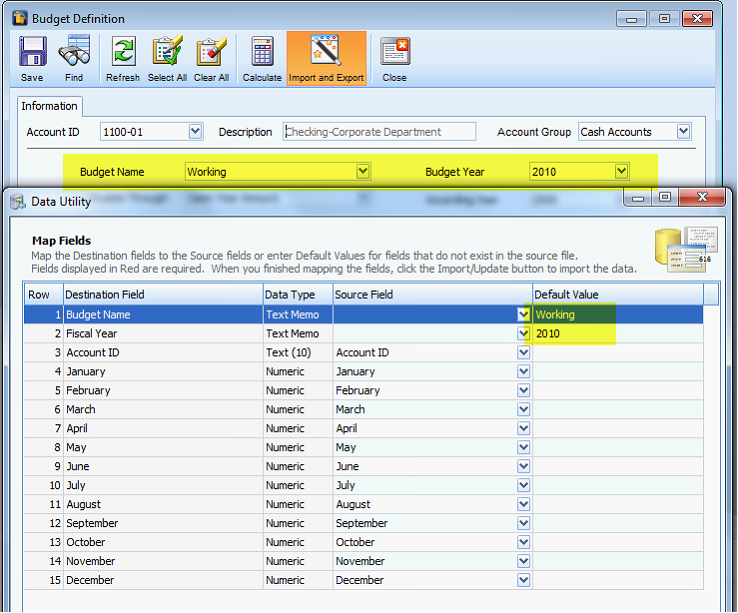
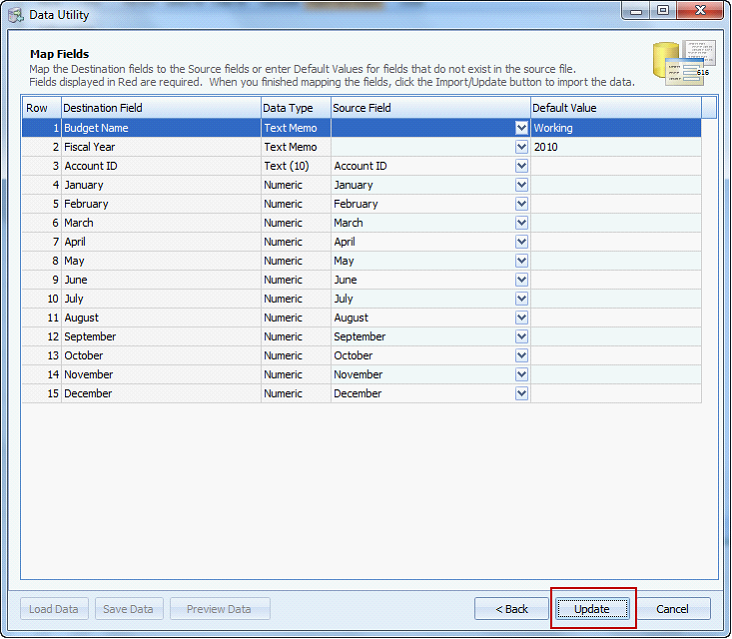
Click Next button to open the Map Fields form. The Budget Name and Budget Year from the Budget Definition form you specified will be the default Budget Name and Year shown on this form. You may also change the Budget Name and Year in the Map Fields page if you need to.
![]() Note: When updating data from excel file, the Load Data, Save Data and Preview Data buttons at the bottom of the Map Fields form are disabled.
Note: When updating data from excel file, the Load Data, Save Data and Preview Data buttons at the bottom of the Map Fields form are disabled.
Next, click Update button.
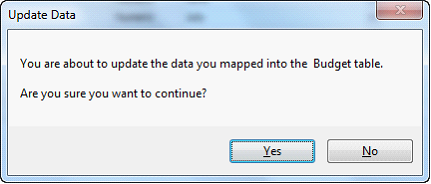
And this message will be shown. Click YES to continue with the update.
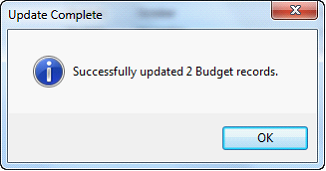
Once the update is completed, this message will be shown. The number shown on this message will be based on the number of Accounts that were successfully updated with the budget amounts. Click OK on this message box and you will be back on the Data Utility > Select Data Type.
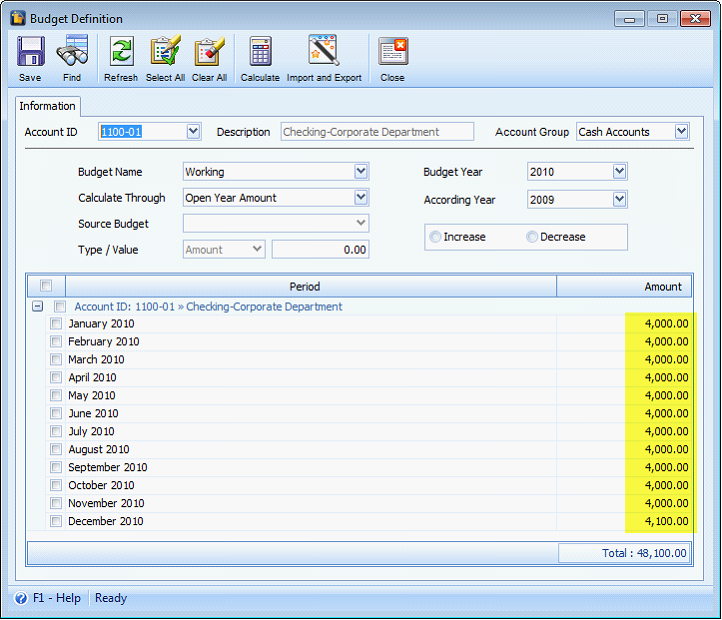
Close the Data Utility form and the Budget Definition form will be reloaded with fresh data.
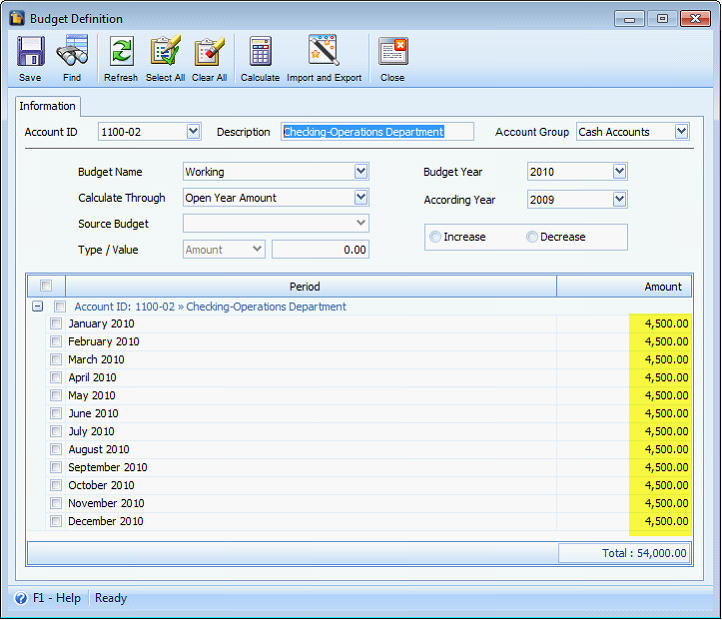
Here is the Budget Definition form after the update.
![]() Notes:
Notes:
| • | When updating budgets and the budget name does not exist, the system will not continue with the update and will inform you that the budget name does not exist. |
| • | If there are missing months in the excel file, for example April, May and June are missing, the system will still be able to import or update the data for the other months and will ignore the missing months. |
| • | If there are duplicated month column in the excel sheet, for example there are two April columns, an error message will appear indicating the month with a duplicate column. |
| • | If the excel file doesn’t follow the format specified above (Account ID followed by at least one or more months), the program will inform you that the file has incorrect format. |
II. Export Budget
a. Export an excel (.xls) file
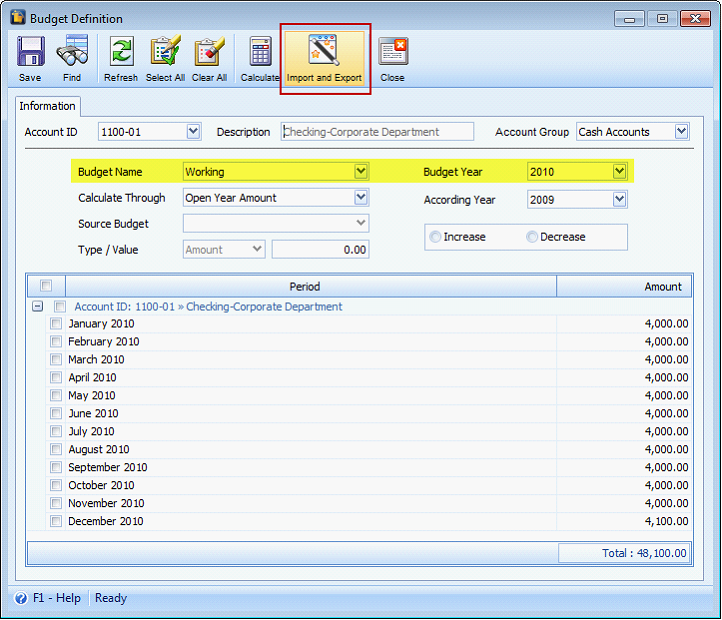
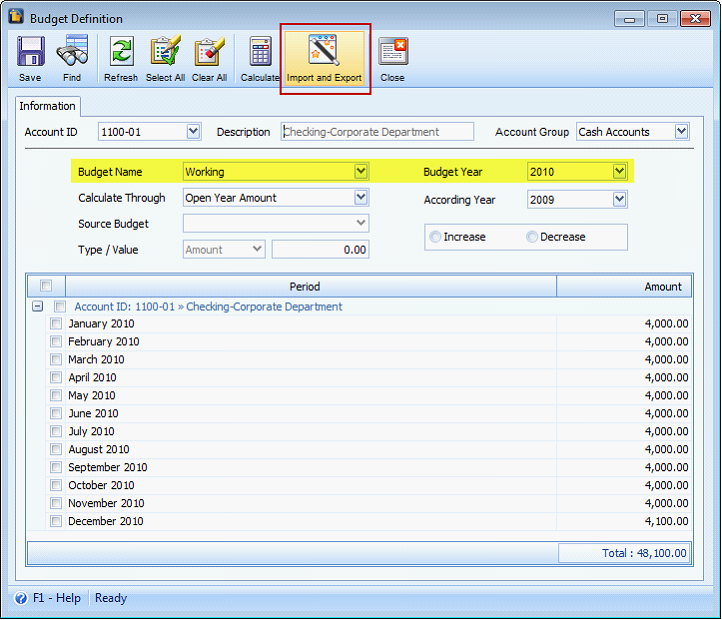
From Budget Definition form, select the Budget Name and Budget Year you want to export then click Import and Export button.
On the Data Utility form, select Export Data radio button. Click Browse button on the Enter an Export Path and Filename field to specify the file name and the location where you want to save the file.
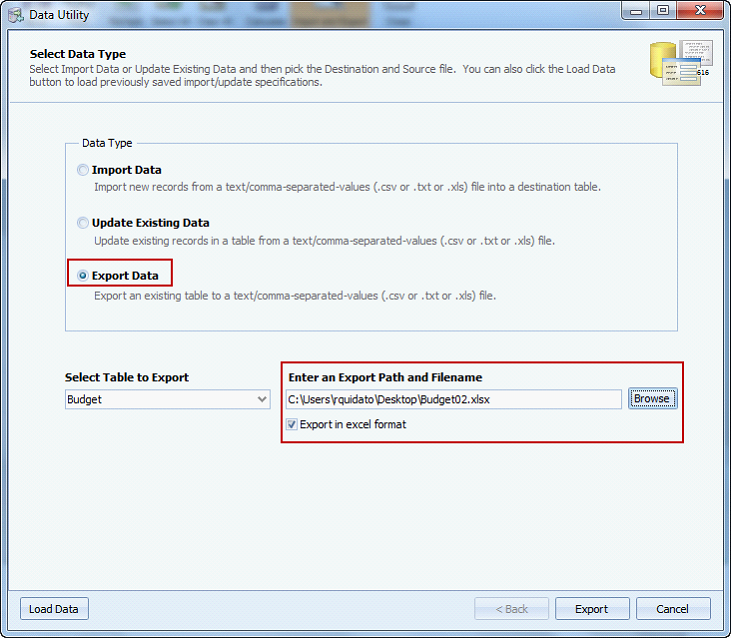
![]() Note: When exporting data in excel format, make sure that Export in excel format checkbox is checked.
Note: When exporting data in excel format, make sure that Export in excel format checkbox is checked.
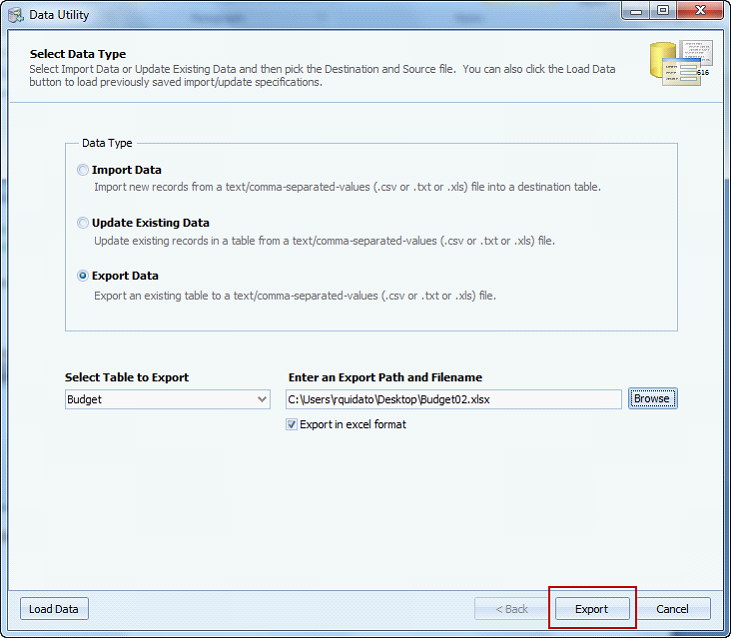
Then click Export button.
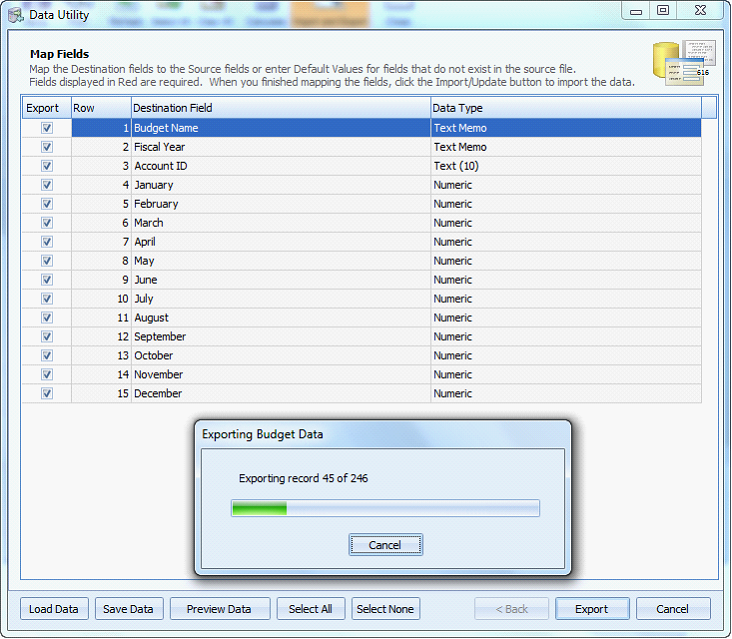
The Exporting Budget Data message box will appear showing the progress of the export and at the same time brings you to the Map Fields form.
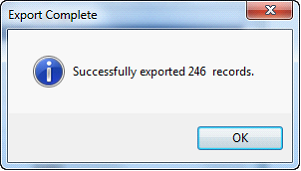
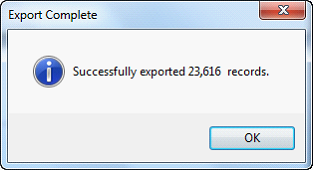
Once the export is completed, this message will be shown. The number shown on this message will be based on the number of Accounts that were successfully exported with the budget amounts. Click OK on this message box and you will be back on the Data Utility > Select Data Type.
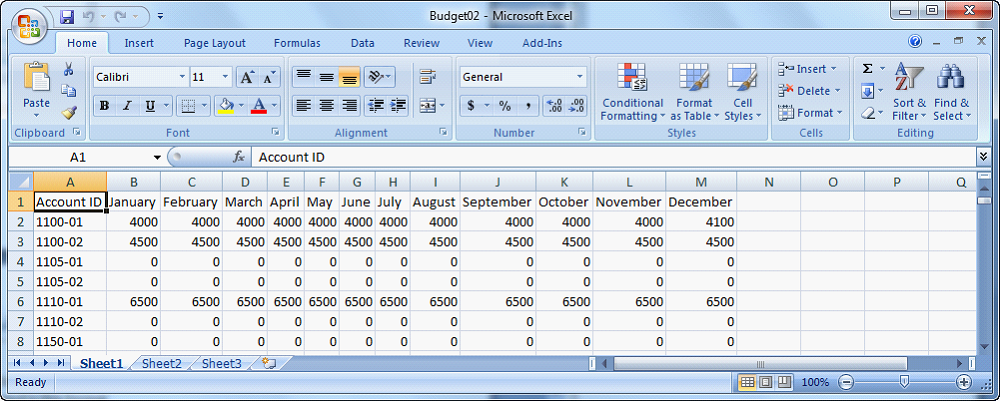
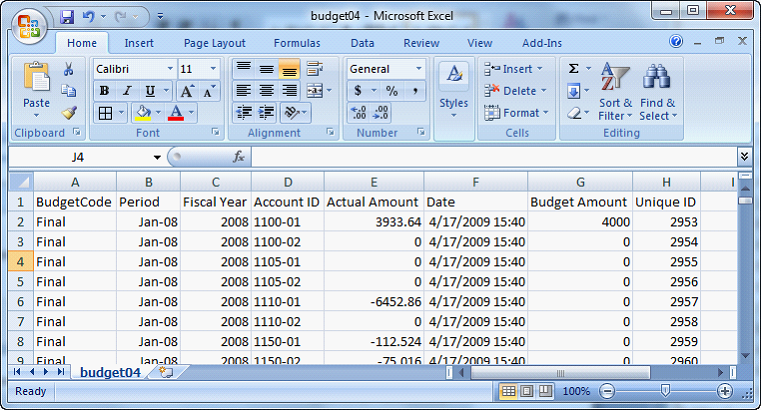
The excel file that you exported will also be automatically opened. Here is how the excel file will look like. All budget amounts for all the Accounts within the selected Budget Name and Budget Year will be exported in this format.
b. Export a text (.txt) or comma-separated-values (.csv) file
From Budget Definition form, select the Budget Name and Budget Year you want to export then click Import and Export button.
On the Data Utility form, select Export Data radio button. Click Browse button on the Enter an Export Path and Filename field to specify the file name and the location where you want to save the file.
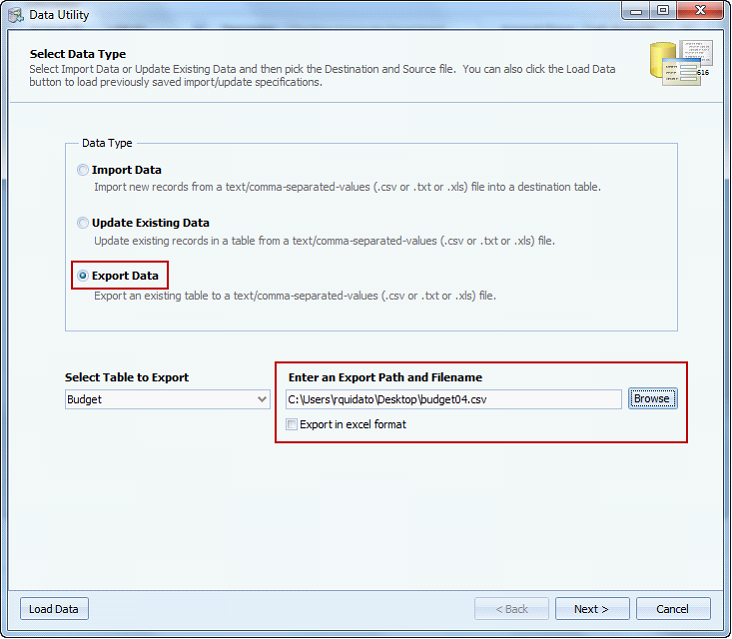
![]() Note: When exporting .csv or .txt file, make sure that Export in excel format checkbox is unchecked.
Note: When exporting .csv or .txt file, make sure that Export in excel format checkbox is unchecked.
Then click Export button.
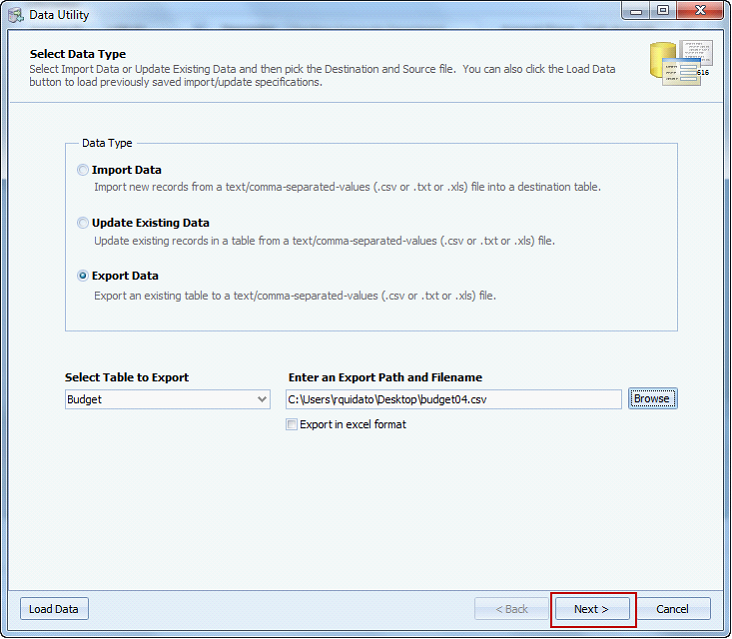
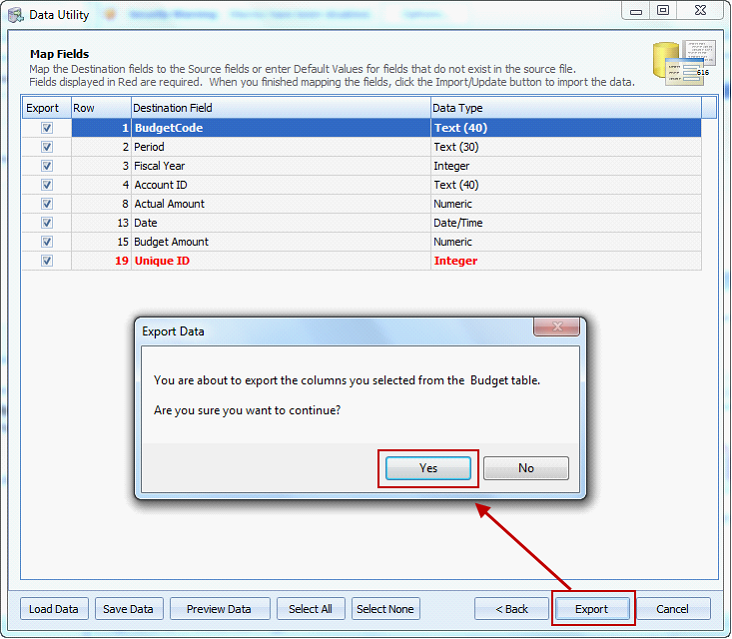
You will be brought to the Map Fields form. Click Export button and Export Data message box will be shown. Click YES start export process.
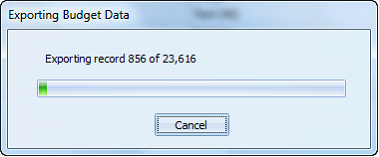
The Exporting Budget Data message box will appear showing the progress of the export.
Once the export is completed, this message will be shown. Click OK on this message box and you will be back on the Data Utility > Select Data Type.
This is a sample content of the exported csv file.
![]() Note: The exported data will contain all the Budget Names existing in Budget Definition form.
Note: The exported data will contain all the Budget Names existing in Budget Definition form.