|
<< Click to Display Table of Contents >> Introduction |
  
|
|
<< Click to Display Table of Contents >> Introduction |
|
Welcome to Custom Vantage Web™ – Help
The topics to the left include explanations of all features within Custom Vantage Web™. Click through our content, view our index, and perform searches to discover solutions you may not have known existed. If you do not see a solution to your question e-mail us so we can better serve you.
Getting Started with Custom Vantage Web™
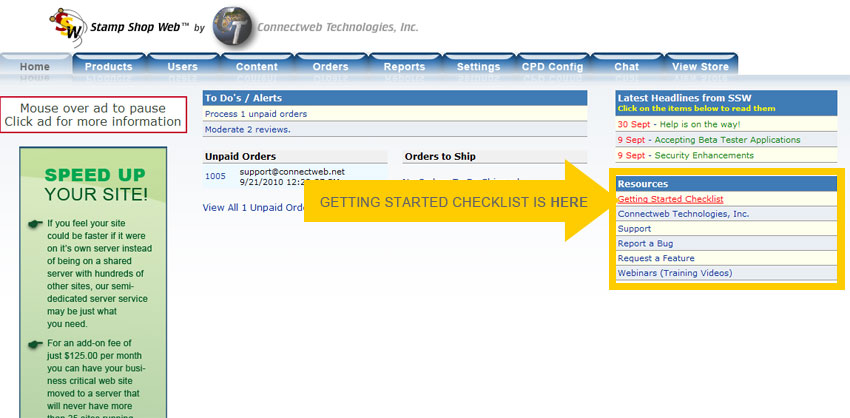
Before your site goes live it is helpful to complete the Getting Started Checklist (located within the Admin section of your site, Home tab, Resources). Below find explanations of each link within the list. If at any time questions arise please call Support at 1-800-556-9932 or e-mail support@cwebtechnologies.com.
|
Change Admin Username/Password from default: when first starting use of your site you will want to immediately change your username from the default to your site's e-mail address. Since Custom Vantage Web™ sites all come with mail provided through Connectweb's mail server you will be able to have an e-mail address with your domain. For example, if your domain is RubberStampsNow.com your new e-mail address could be sales@RubberStampsNow.com. Creating a e-mail with your site's domain name makes your store look professional and official to all customers, especially when they are contacting you with questions.
Setup Contact Information: after changing your default username/password next you will want to update your contact information on the site. To do this visit the Content tab > then the Store Information link within the Content Menu. Fill out the form with your store's information to update your contact information. This information will appear whenever a customer on your site clicks on the "Customer Service" link.
Upload your Logo: customize your site with your own store's logo. To do this visit the Content tab > Store Logo link within the Content Menu. Within this link you will be able to upload a logo which will be placed on your store's header section. When uploading a logo be sure to follow size requirements (logo width: no wider than 450px, logo height: no taller than 100px). If you would like to have a logo larger than our size requirements a custom theme will need to be created. We have designers on staff who can create a custom theme for you, for an additional fee.
Select a Theme: in addition to including a logo to your site's customization, you may also select a different color scheme for your site. We call the different color schemes themes, and your site has 12 basic themes included. To select a new theme for your site visit the Settings tab > Themes link within the Settings Menu.
Setup your Homepage: your homepage can be customized by visiting the Content tab and adding/editing homepage blocks with your store's content.
Turn on SSL: an important step in setting up your site is turning on your SSL certificate.
Setup Payment Methods: in order for your customers to be able to make purchases on your site your store must be setup to accept different payment methods. To setup payment methods visit the Settings tab > Orders link within the Settings Menu.
Setup Shipping Methods: in order for your customers to be able to receive their purchases on your site your store must have shipping methods setup. To setup different shipping methods visit the Settings tab > Shipping link within the Settings Menu.
Add Categories: out of the box Custom Vantage Web™ comes with several categories already setup for you. To edit/delete/create new categories for your site you may do so within the Products tab > Categories link within the Catalog Menu.
Add Products: out of the box Custom Vantage Web™ comes with 1 free catalog of products. If you decide to add more catalogs of products to your site visit here to select and purchase catalogs or call Connectweb Technologies, Inc. (1-800-556-9932) to speak with a sales representative.
Change Privacy Policy: to change your site's Privacy Policy visit the Content tab > Privacy Policy link within the Content Menu.
Change Terms and Conditions: to change your site's Terms and Conditions visit the Content tab > Terms and Conditions link within the Content Menu.
Change Return Policy: to change your site's Return Policy visit the Content tab > Returns link within the Content Menu.
Setup Meta Tags: within your site there are many options to include meta tags to your products, categories, and homepage. Meta tags will improve your site's search engine optimization. To add meta tags to products first edit the product, then within the General Info click on the Meta Tags section. To add meta tags to a category first edit the category, then within the category click on the Meta Tags section. To add meta tags to your site's homepage click on the Content tab > Store Meta Tags link within the Content Menu.
Setup E-mail Templates: to setup email templates visit the Content tab > Email Message link within the Content Menu. Here find a list of all the emails sent from your site. Click on the edit button to edit any email template and insert your store's email address or information.
More Settings and Options: to adjust the settings on your site click on the Settings tab and review the links with the Settings Menu.